What can I say, each order I've had here has always been a smooth process. As for the spores I cannot say how well they are yet but due to past cultures be great, I'll have no doubt these will as well. Keep up the good work!
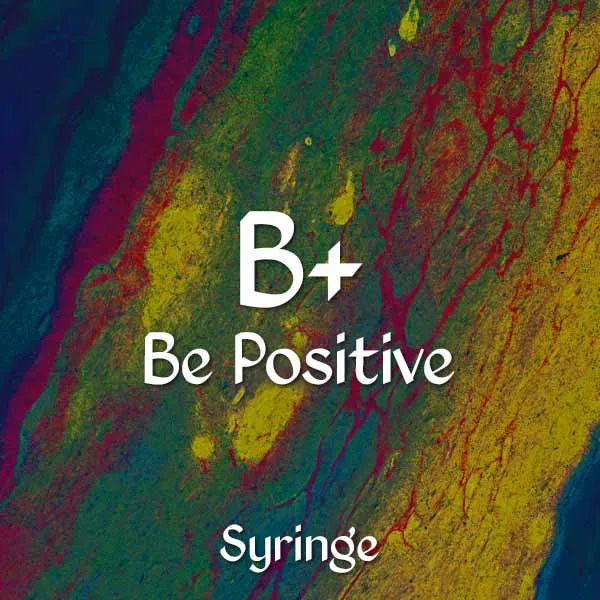
MRM: To clarify this review, gourmet liquid culture is what was sent, not spores.
I've ordered a handful of times and it always comes in good condition. Never had any problems and they've worked great, so I keep coming back. I like the bag of goodies it comes with too.
Mr. M delivers over and over. Great quality and very quick delivery. Thank you very much for the constant consistent and amazing customer service! Also keep rocking those info cards <3
My spore syringe got sent to the wrong address and they sent me another one for free. I just got it today and I’m so excited to get started on this journey. Thank you so much Mr. Mushroom for looking out. Really appreciate you
MRM Clarification: USPS delivered to the wrong address
I received my products in a timely manner in a well packaged parcel. It came with a bunch of additional little knickknacks that were a pleasant surprise. I will definitely purchase from this brand again!
Got the syringes I ordered, good customer service, even including a joke in the finalizing of the order. I got some candy and a sticker with my order and even got a little swab of one of my favorite specimens. Thankful for everything, it's all looking great under my microscope!
I opened the mail package with your product, and the end of the Fat Fuzz syringe had droplets in the bag, around the syringe where the needle goes, and looked like someone didn't put the pink stopper on tight enough. Managed to look at the syringe and I had between 8.2 and 8.5 of syringe liquid. First time I've had a complaint, normally your product is 4.0 and works great. Check the QA Department so it doesn't happen to anyone else. Thanks, Al
MRM Response: We've reached out to this customer and have arranged a replacement. We received a batch of defective luer lock caps, we think we've found all of them.
It is a pleasure ordering from Mr. Mushroom. The timely delivery, and extra goodies are a bonus. But the packaging and care put into orders are why i come back. Thank you
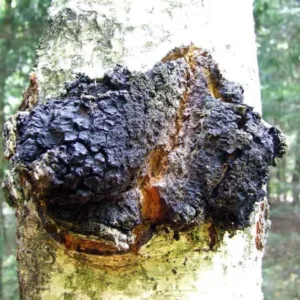
I have been going to Mr Mushroom for sourcing various materials for my mycology hobby for a little over a year now and it has always been reliable and high quality, that includes these golden teacher spores as well!
I have ordered these many times, and they always produce lucid, high quality slides. When I ordered most recently, these were out of stock due to a quality control issue that Mr. mushroom wanted to catch before it got out the door. they contacted me immediately and we worked it out. I really appreciate that dedication to quality and prompt customer support. I also love that they donate regularly to good causes. Mr. Mushroom is the best. Thanks for the ginger candies 💗💗💗
Another great quality product from Mr. Mushrooms! Swabs arrived in perfect condition in sterile packaging, which contained two cotton tip swabs. I viewed one under the scope right away and stashed the other in the fridge. Still beautiful after several months. Easy 5 stars, would buy again!
Im just starting off learning more about mycology! Im very excited and thankful Mr. Mushroom offers such professional mycology products! I will definitely be returning for future orders!
Easily my favorite spores to study! I've studied four different slides now and I'm really starting to appreciate the variety in what I see. Everything is very clean right out of the box. Absolutely a vendor I will continue to use for future research projects!!! I appreciate the clean slides and information cards that come with the spore syringe. The ginger candy is a nice added touch, I've purchased it since. My only complaint and its insignificant really, I never got the Mr. Mushrooms Holographic sticker on my last order. I'm a man child and have a sticker table!! LOVE YOUR STUFF! Love yourself people, I do why shouldn't you? MRM: I appreciate you and your review! I got a Mr. Mushrooms Holographic sticker headed your way! Sorry about that, must have been left out on accident. Mush love!
Best customer service in the Business and lightning fast shipping. Cant say enough good things about this website you can tell this man cares about his customers and his products.
You can’t trust everything you see on the internet but you sure can trust Mr. Mushroom to get you started on your mycology journey. Will definitely be ordering again!
Took me longer than anticipated to obtain a microscope (almost a year). Concerned that vitality would be compromised, pleasantly surprised my study was successful! Thank you for superb quality!!
This is the second time I have ordered from Mr Mushrooms. I am very happy with the prompt delivery time and professional service. The packaging and inserts reflect the care taken with each order. Thank you!
Simply the best. I have bought from Mr. Mushrooms a number of times and he has NEVER let me down. I can’t post pictures of my current order because it got lost in the mail. However, after quick contact Mr. Mushrooms gave me a discount to re-order and I promptly did just that. He will continue to get my business again and again, and I assure you won’t regret doing the same.
I appreciate how quickly this order came in, as well as all the goodies that came with it! You've created a loyal customer, after just one order. I can tell you are passionate about making this hobby possible for people, plus I love the little sticker! It lives on my phone case!
Mr. Mushroom is one of the few vendors that have 2pc collector packs at reasonable prices. Each pack was clean and perfectly packages with some goodies! Amazing <3
MrM works is a very professional and credible vendor I’ve ordered twice from their online store and both times the packages were neatly packed and delivered in shorter time than expected. They give you your package tracking number and respond to emails within 24 hours, if i ever need to order any spores for microscopic viewing within the US I trust this vendor every time
I have been a customer with mr. Mushrooms for over a year now and his consistency with packaging, shipping, and quality of spores has never disappointed me. I will forever be a customer!
MrMushrooms is hands down my go to guy for spores and cultures. Cannot reccomend him enough. Syringes are well homogenized and a light shake gives a great viewing sample up until the end of the syringe. Even the packaging is the best I've seen and goes way past expectations . Best in the game overall, in my opinion.
Great communication and fast delivery. The site has tons of great information and videos for all your shrooming needs. This is my new all time go-to for mushroom growing. Simply amazing.
My order was not only filled and shipped at lightspeed but it also came with extra stickers and a neat little trading card ( which will make a great bookmark) 10/10 anyone who's interested should definitely order from Mr. Mush
Very excited to get started with a new hobby. I have enjoyed foraging and taking spore prints for a few years. Very secure shopping experience, wonderfully designed website, and fast shipping. I like the cards that came with. Even contained everything I need to make a slide.
Packaging was fantastic, was in a very nice bag that kept the syringe secure and even had the strains name on it. It was wrapped perfectly in bubble wrap as well. Upon inspecting the contents the spores are in great condition with plenty dispersed in the fluid. Everything was sanitary and it even came with a slide.
A few comments: 1. MrMushrooms is the best vendor. He cares for his work. You know by the quality and presentation of his goods 2. Very happy he moved away from Paypal. It is for the better 3. I've been a happy customer for 3 years.
Great and professional packaging, comes with a starter slide for viewing under a microscope. The trading card like pictures with info on the strains and the cute sticker are also great freebies! Mr.Mushrooms is kind and quick to respond. Shipping was fast as well! 5 Stars all the way!
Mr.Mushrooms always delivers. You will never regret giving them your business. I found them on reddit and was honestly not expecting much, just because its weird and rare to find a quality vendor in a place like that, (or so I thought.) But I'm glad I broke from my old vendors (sporeworks, sporedepot) and I see no reason to return. Mr.mushrooms is the only place you need for your myco needs.